Replacing Your Alternator
*MEDIUM*
The alternator is a relatively easy component to change; it requires no special tools. If your alternator requires replacement, perform the procedure as follows:
- Park the vehicle on level ground with the engine OFF, the parking brake engaged, and the transmission in PARK (for automatic) or REVERSE (for manual). Raise the hood.
- Disconnect the battery ground cable (negative black wire) from the battery.
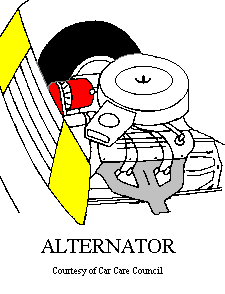
- Identify the alternator.
Loosen the alternator mounting bolt and bracket adjustment bolt with the appropriate sized socket or box wrench. - Push the alternator toward the engine to create slack in the drive belt. Remove the drive belt from the alternator pulley. Disconnect the alternator wires but note their location; label them if necessary.
- Finish removing the alternator bolts and pull the old alternator off the engine. Install your new alternator in the reverse manner. Connect the alternator wires and place the drive belt over the alternator pulley.
- Use a padded tire iron, crow bar or similar wooden tool to pry the alternator housing away from the engine. Be certain the crow bar is wedged against a firm part like the engine block. Do not pry it against the alternator pulley; the bearings might be damaged. Tighten the adjustment nut behind the alternator support bracket while holding the crow bar. Then tighten the lower mounting bolt. Close the hood.
- Check the belt tension after the vehicle has been driven for 10 minutes and adjust as necessary.
